Although this is a DIY/home décor blog, I am a former teacher and now a toddler mom. You can take the girl out of teaching, but you can’t take the teacher out of the girl! I just had to share this adorable and easy craft that my son & I did the other day in case you wanted an idea for an easy kids craft to do with your kiddos this winter!

We made two different versions of this craft – instructions for each of them are in this post. The idea was based off of this leaf craft I made with my students a few years ago.
For the first version, you will need:
- Tissue paper (we used pink, red & white)
- Contact paper
- Cardstock (or scrapbook paper)
Step 1: Prep the hearts
I did this while Isaac was napping so we could start when he woke up, but if your kids are old enough, get them in on it too! Cut hearts out of cardstock, and then cut a smaller heart out of the middle, so you’re left with just a heart outline.
Step 2: Put the hearts on the sticky side of contact paper
I used some washi tape to secure the contact paper to the table (matte side down) and then put the heart outlines directly onto the sticky side. (we did this activity on the perfect thrifty kid’s table – our IKEA Lack hack)

Step 3: Put the tissue paper in the hearts
You can either have the tissue paper pre-ripped, or involve your kids in ripping the paper. Isaac loves to rip things, so this was fun for him to do. Then, have them place the tissue paper inside the hearts. I was really surprised with how well my 18 month old did with this – great way to teach those boundaries!


Step 4: Seal with another sheet of contact paper
Place another sheet of contact paper on top – sticky sides together. Press together (you can scrape with a hard flat object like a ruler) to seal.
Step 5: Cut them out
Cut out the hearts – make sure the edges have some contact paper border so they don’t come apart!
Step 6 (OPTIONAL): Laminate
Just because I’m slightly obsessed with laminating – I loved to laminate these as a last step! You shouldn’t have to, but it will give them a little bit of a cleaner look, and will make them last longer. I have my own small laminator – they’re surprisingly inexpensive! If you love laminating like I do, I totally suggest getting one of these for whenever you need a laminating fix 
(affiliate links – full disclosure here)
We hung our hearts in our window seat area – Isaac LOVED hanging them up even more than he loved making them! And all day he kept looking at them saying “Heart – on!” So cute!

We also made a washi tape version – just because Isaac has a strange obsession with my washi tape. Silly kid!!
I didn’t take pictures of this process – we stuck the washi tape on wax paper first, placed the heart outlines on top, cut them out & then laminated them. The turned out so cute too!

Would you try this with your kids? It would work well for kids of all ages! It’s a great way to break through the boredom in these last brutal winter months!

Like this post? You’ll also like:


Kids Valentine’s Craft – Tissue Paper Flower Cards
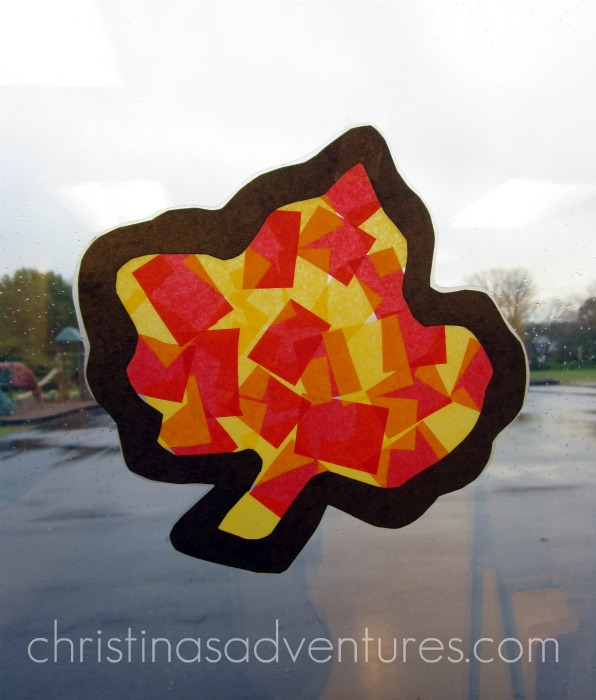
Fall activities & crafts for kids
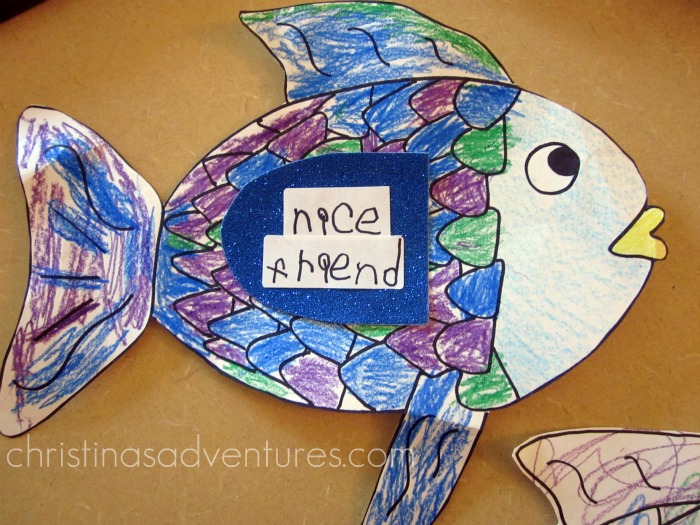
Teaching about friendship with “The Rainbow Fish”
Pin ItThe post Easy Kids Craft: Heart Suncatchers appeared first on Christinas Adventures.